Sub-Figures
If you need a more advanced figure layout, LaTeX allows you to join multiple sub-figures into one figure – each of them can have their own caption as well as a label for further referencing. Moreover, it’s easy to ensure that they are perfectly aligned with regard to one another, as well as to the overall text layout. To use subfigures, the first thing you will need to do is include \usepackage{subcaption} in the preamble of your document. As you can see in the example, to divide a figure into several subfigures, we simply add a subfigure environment for each subfigure we want to include into one figure environment. Each subfigure environment is associated with its own positioning option specified in the square brackets. It usually makes sense to set them all to the same option (for example t in the example), as it leads to good alignment of the subfigures. Note that we also specify the width of each subfigure using the curly braces – in this case, each of the two koala photos has the width of 0.6 of the text width. When using \includegraphics within the subfigure environment, we can set the width to \textwidth, as the \textwidth attribute is defined separately for the subfigure float (in this case as 0.6 of the document text width).
The distance and layout of the subfigures can be determined by using the spacing markup tags covered in Part 1 of the course. So for example by using \ between the subfigure environments, we lay the subfigures out vertically, separated by a 5 mm space.
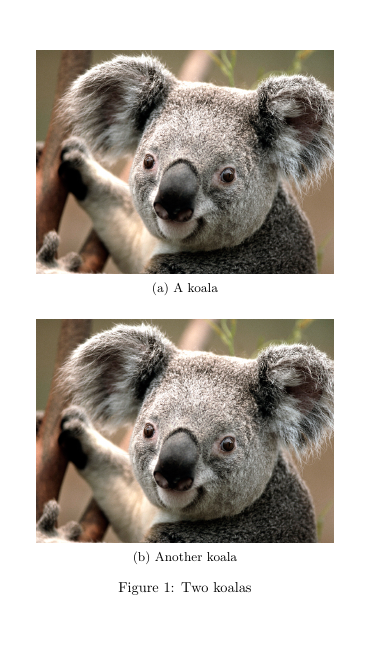
\begin{figure}[ht!]
\centering
\begin{subfigure}[t]{0.6\textwidth}
\centering
\includegraphics[width=\textwidth]{koala.jpg}
\caption{A koala}
\label{fig:koala1}
\end{subfigure}
\\ \vspace{5mm}
\begin{subfigure}[t]{0.6\textwidth}
\centering
\includegraphics[width=\textwidth]{koala.jpg}
\caption{Another koala}
\label{fig:koala2}
\end{subfigure}
\caption{Two koalas}
\label{fig:koalas1}
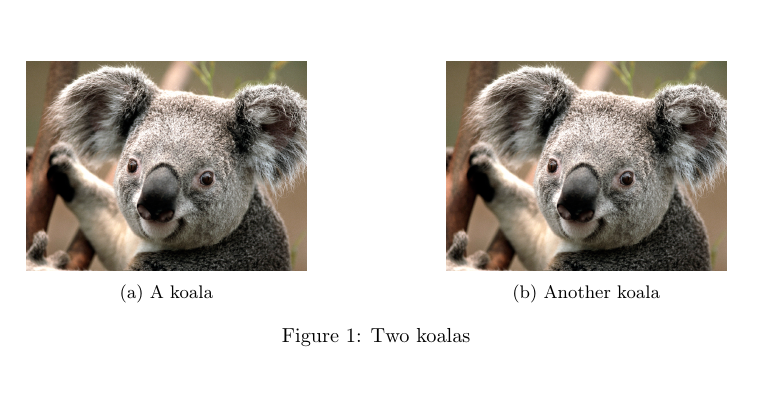
\end{figure}In this example, on the other hand, the subfigures are placed in a horizontal 2 by 1 layout. That’s because the subfigure environments are separated by the \hfill tag, which fills the space between them horizontally. Using \hfill maximizes the possible distance between the two subfigures, however, \hspace{} would also work if you want to specify the distance manually. Note that if you want to place several subfigures next to each other as in this example, their total width cannot exceed \textwidth. So we can place two figures with width = 0.45\textwidth or three figures with width = 0.3\textwidth in this manner, but not two figures with width = 0.6\width, as 0.6x2 = 1.2.
\begin{figure}[ht!]
\centering
\begin{subfigure}[h]{0.4\textwidth}
\centering
\includegraphics[width=\textwidth]{koala.jpg}
\caption{A koala}
\label{fig:koala3}
\end{subfigure}
\hfill
\begin{subfigure}[h]{0.4\textwidth}
\centering
\includegraphics[width=\textwidth]{koala.jpg}
\caption{Another koala}
\label{fig:koala4}
\end{subfigure}
\caption{Two koalas}
\label{fig:koalas2}
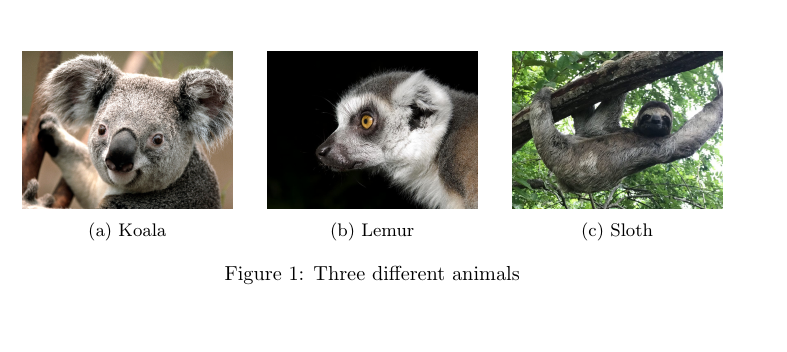
\end{figure}This last example shows a 3 by 1 horizontal layout of subfigures.
\begin{figure}[ht!]
    \centering
    \begin{subfigure}[b]{0.3\textwidth}
        \centering
        \includegraphics[width=\textwidth]{koala.jpg}
        \caption{Koala}
        \label{fig:koala}
    \end{subfigure}
    \hfill
    \begin{subfigure}[b]{0.3\textwidth}
        \centering
        \includegraphics[width=\textwidth]{lemur.jpg}
        \caption{Lemur}
        \label{fig:lemur}
    \end{subfigure}
    \hfill
    \begin{subfigure}[b]{0.3\textwidth}
        \centering
        \includegraphics[width=\textwidth]{sloth.jpg}
        \caption{Sloth}
        \label{fig:sloth}
    \end{subfigure}
    \caption{Three different animals}
    \label{fig:animals}
\end{figure}