Float Barriers

\documentclass{article}
\usepackage{graphicx}
\usepackage{lipsum}
\begin{document}
\section{Some latin text}
\lipsum[1-3] %this simply generates dummy text
\begin{figure}[!h]
\includegraphics[width=\textwidth]{koala.jpg}
\end{figure}
\section{Some more latin text}
\lipsum[1-2] %this simply generates dummy text
\end{document}
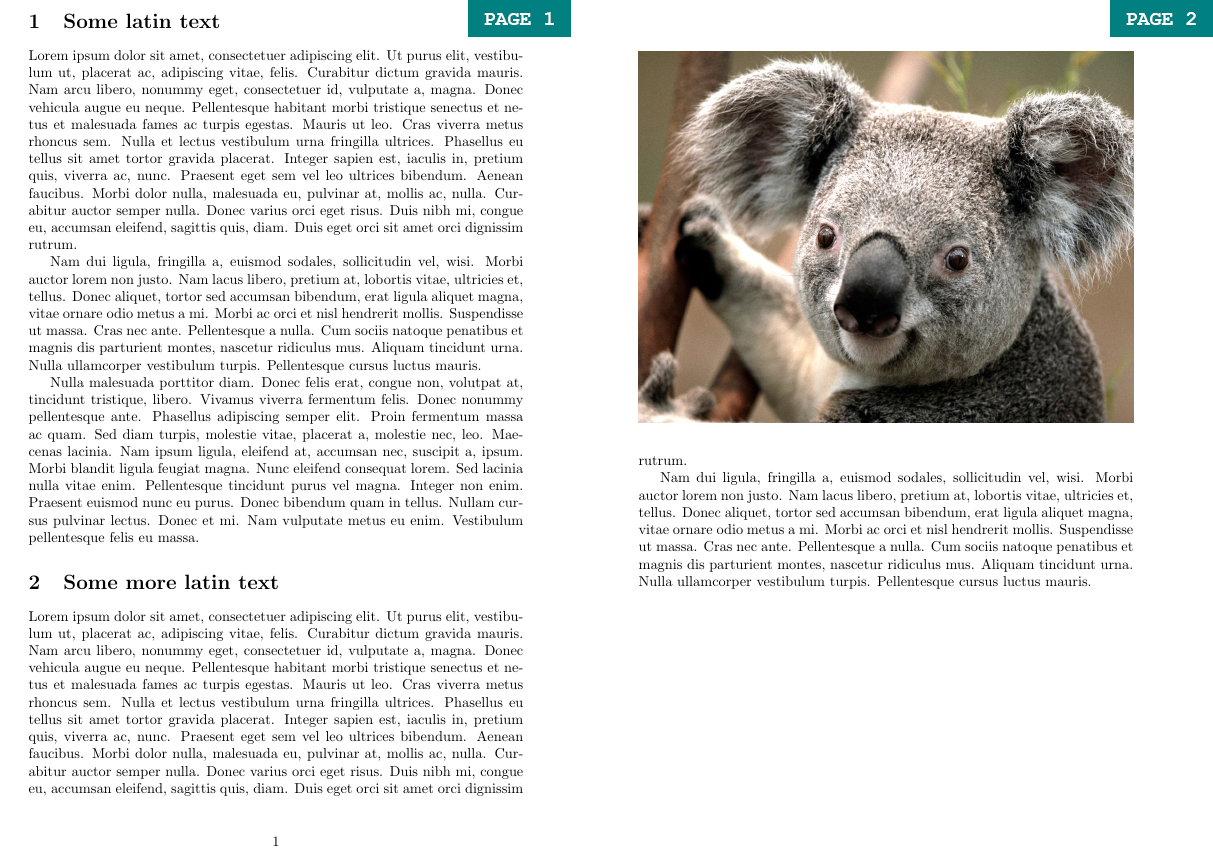
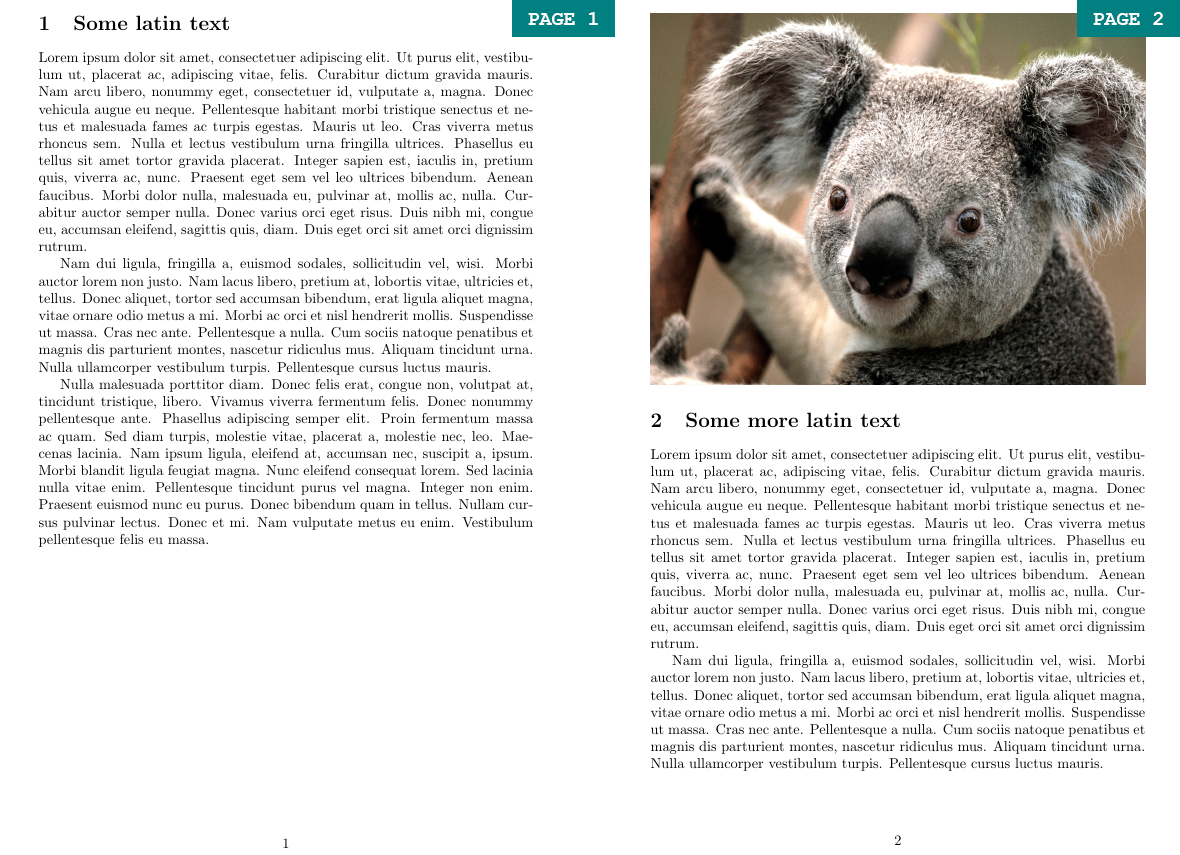
Sometimes the LaTeX float algorithm may be a little unpredictable and misplace your figure. Consider the simple example shown by the first LaTeX code (note that the \lipsum tag is simply used for generating dummy text for LaTeX examples). You have two document sections, Secton I and Section II, and a Figure relevant to the content of Section I. Therefore, you want to place the Figure after all the Section I text, but before the heading of Section II. Because the text from Section I is long, it won’t fit the same page as the Figure. By default, LaTeX will fill the remainder of the page with text from Section 2 and flush out the Figure on the next page. To prevent that, you can use the \FloatBarrier tag from the placeins package. The \FloatBarrier prevents floating environments from floating beyond the place you enter the tag. It is useful to place such barriers at the end of every section, to make sure that each figure remains in its relevant section. This can be seen in the second example:

\documentclass{article}
\usepackage{graphicx}
\usepackage{lipsum}
\usepackage{placeins} %this package containts the FloatBarrier tag
\begin{document}

\section{Some latin text}
\lipsum[1-3] %this simply generates dummy text

\begin{figure}[!h]
    \includegraphics[width=\textwidth]{koala.jpg}
\end{figure}

\FloatBarrier


\section{Some more latin text}
\lipsum[1-2] %this simply generates dummy text
\end{document}